


Step 1: Register your Qualli account
Create a new Qualli account if you haven’t already signed up. You can get started for free!
Learn here how to setup Qualli for your website: How to set it up on your website
Step 2: Create your survey

Head over to our Survey builder and create your Feedback Survey.
Step 3: Website HTML code
Now let’s add some basic HTML and CSS code to your website.
First place this at the end of your Head:
And place this at the beginning of your Body
Feel free to customise the code to your needs! But keep the ID (”feedback-button”) in place, we will use this to link to our Qualli Triggers.
Refresh your page and you should see the Feedback button on the right side.
Step 4: Linking the button to your survey
First step: Creating your trigger

A trigger is a action taken by your user. In this case it is a click on the Feedback Button.
Head over to “Triggers” in the sidebar and click “Create new Trigger”.
Fill in Internal name & Internal description. This can be anything, but we recommend keeping this very clear. “User Clicked Feedback Button” would be a great internal name for this.
Then enable “CSS selector”. Css selector allows you to recognise when a user clicked on a HTML Element with a certain ID or Class.
Remember we gave our html tag the id “feedback-button” earlier? Let’s fill it in like this “#feedback-button”.
That’s it for the trigger, go ahead and click save!
Showing your survey when the trigger gets activated

Head back over to your survey and click “settings”.
Open up “Triggers” and enable “Show based on Trigger”. This means we will show our survey when a certain trigger gets activated.
Enable the trigger you just created (in our case “User Clicked Feedback Button”) and hit “Update” at the top to save our changes.
Step 5: Publish your survey and we’re done 🥳

Don’t forget to refresh your webpage when testing
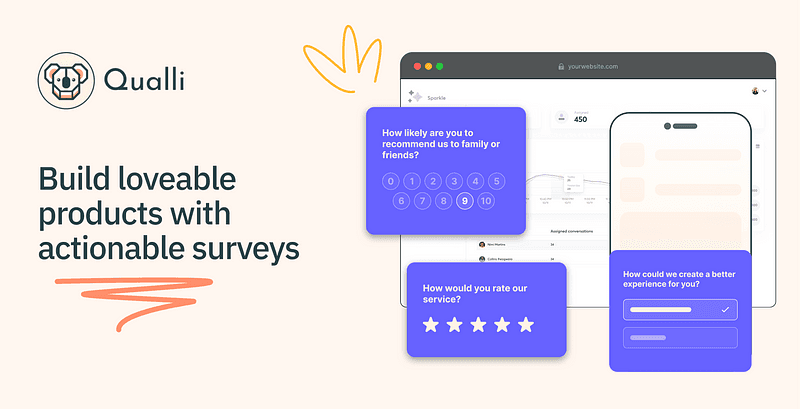
Why use Qualli?
Choosing the right platform for on-page surveys is key, and Qualli could be an option to consider.
At a glance
User-Friendly: Easy setup means you spend less time fiddling with tools and more time gathering insights.
Fully Customisable: Tailor surveys to match your brand, making them a natural part of your app experience.
Smart Triggers: Set surveys to appear based on specific user actions, ensuring relevant and timely feedback.
Instant Analytics: Get real-time feedback analysis to quickly adapt and improve your product.
Responsive and Adaptive: Works seamlessly across all devices, ensuring a smooth user experience.
FAQ
Why does it only show once?
Head over to your surveys settings → Limits → enable “Keep showing when conditions are met”.


